
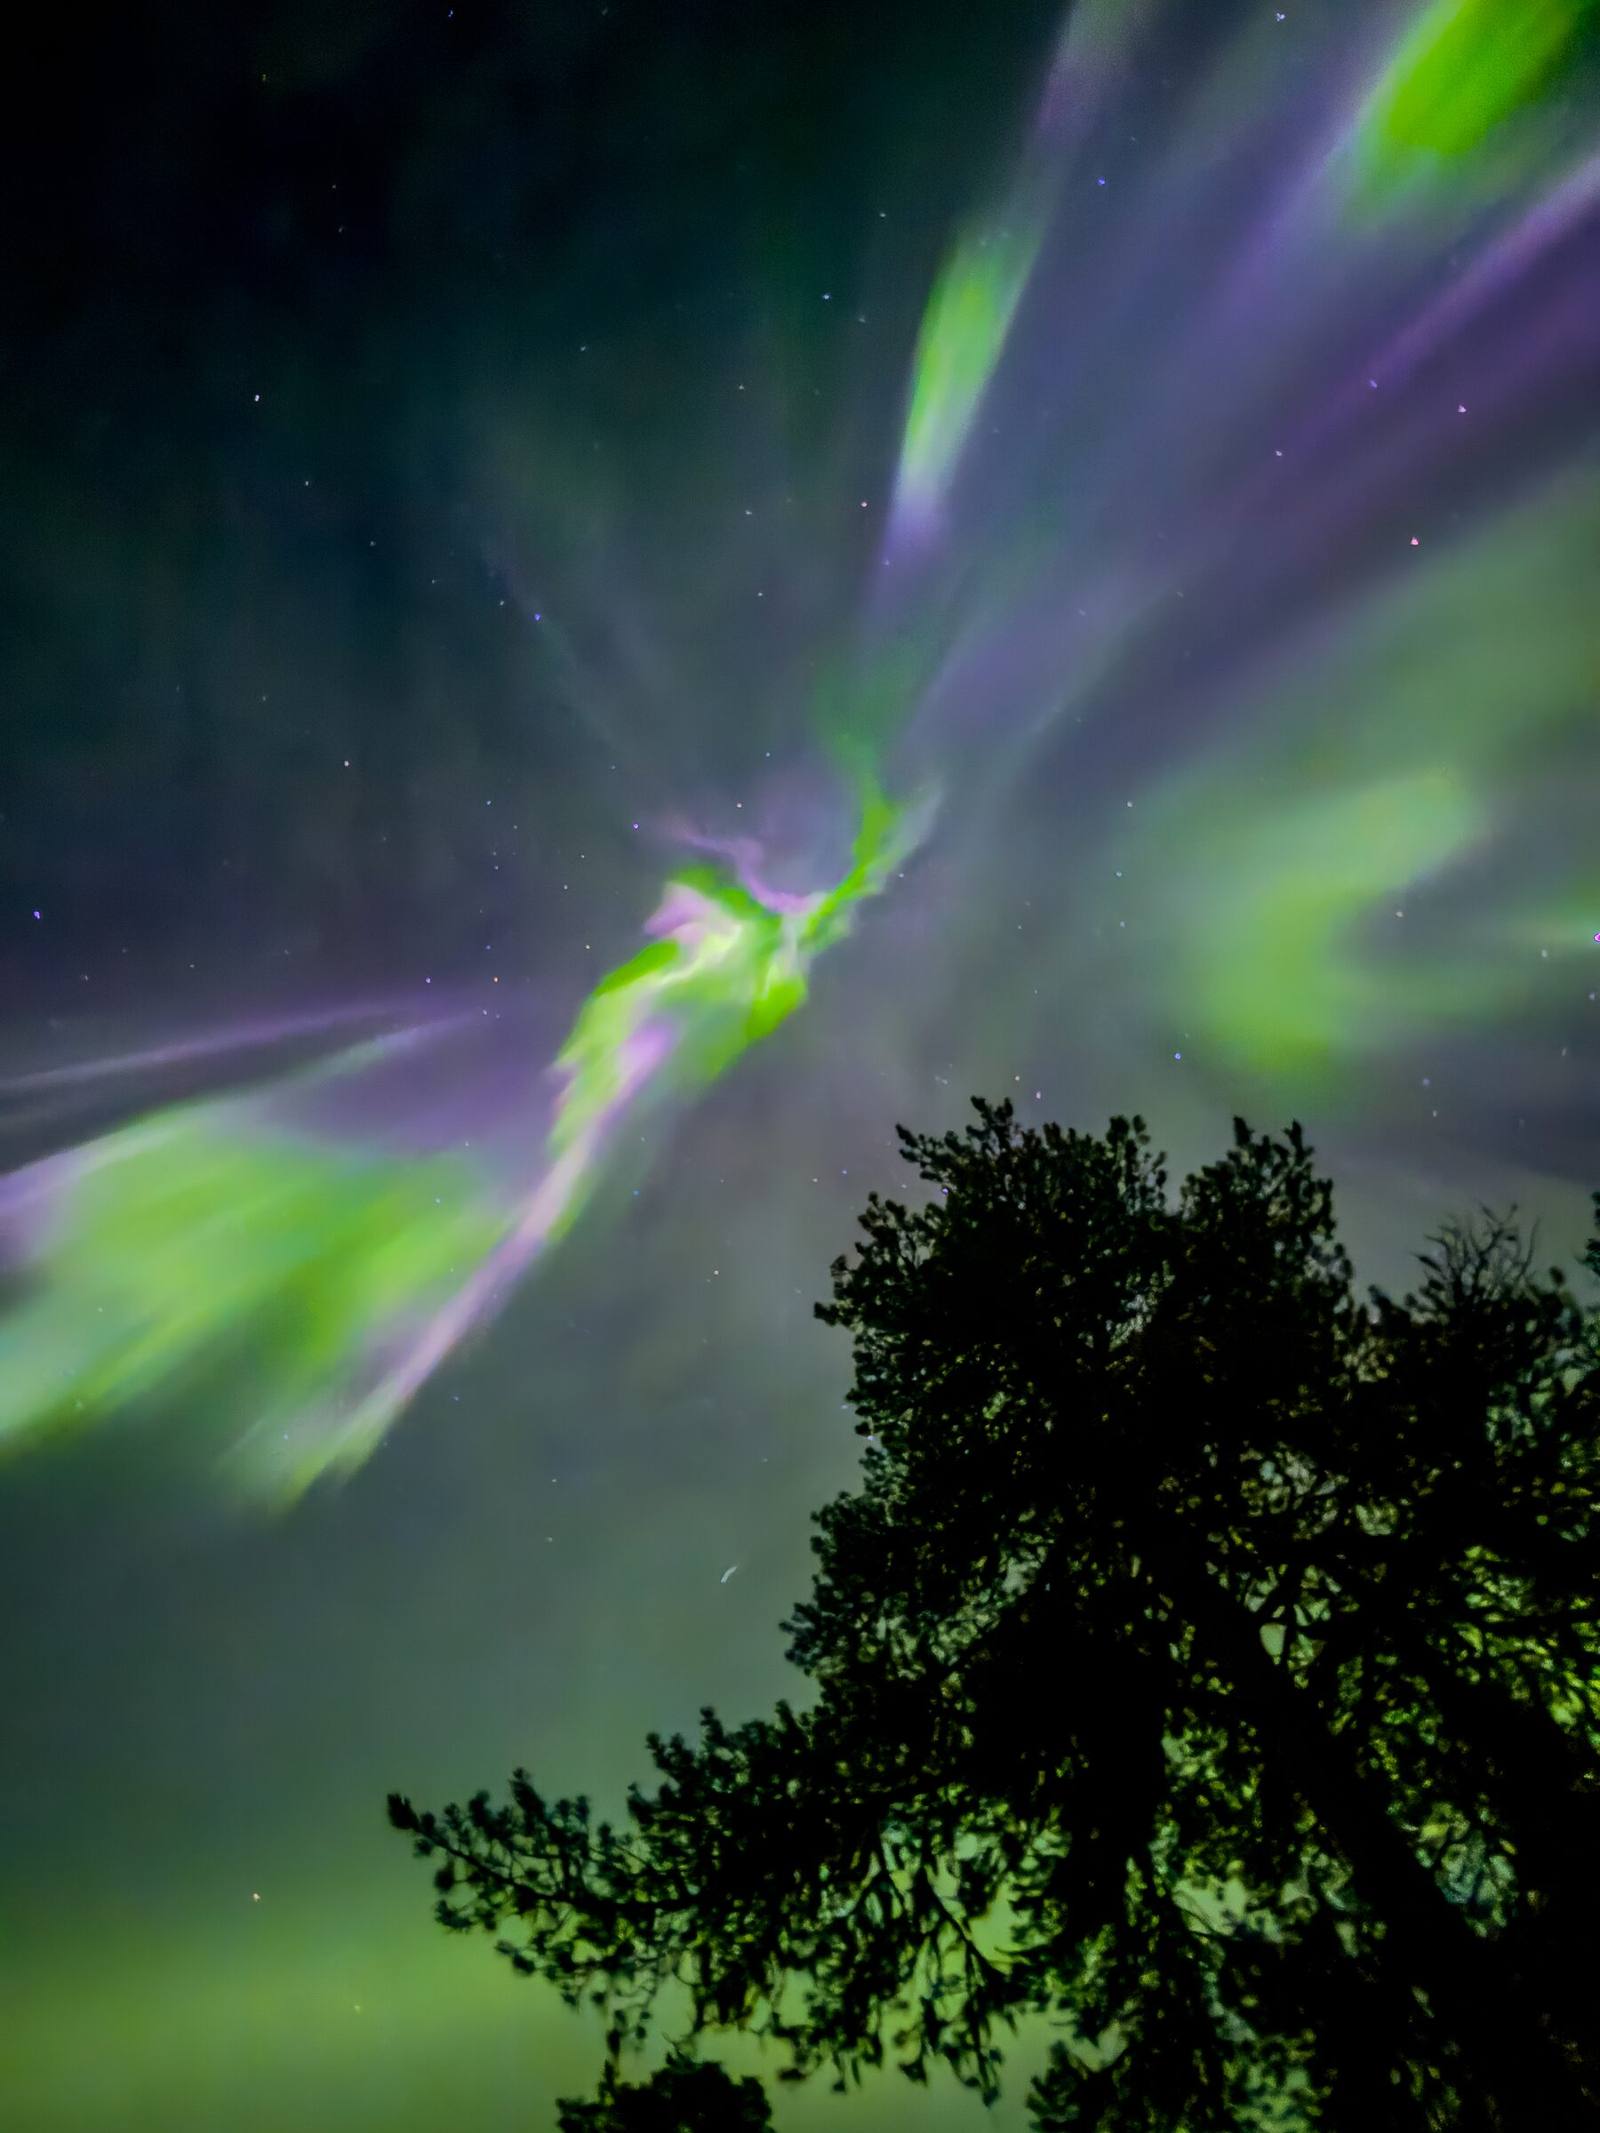
Northern Lights photography Saariselkä
Bring home the aurora, not just the memory
Practical tips for photographing the Northern Lights with a phone or camera — and the photos our guides take for you on every tour.
Included on tour
Photos from your night
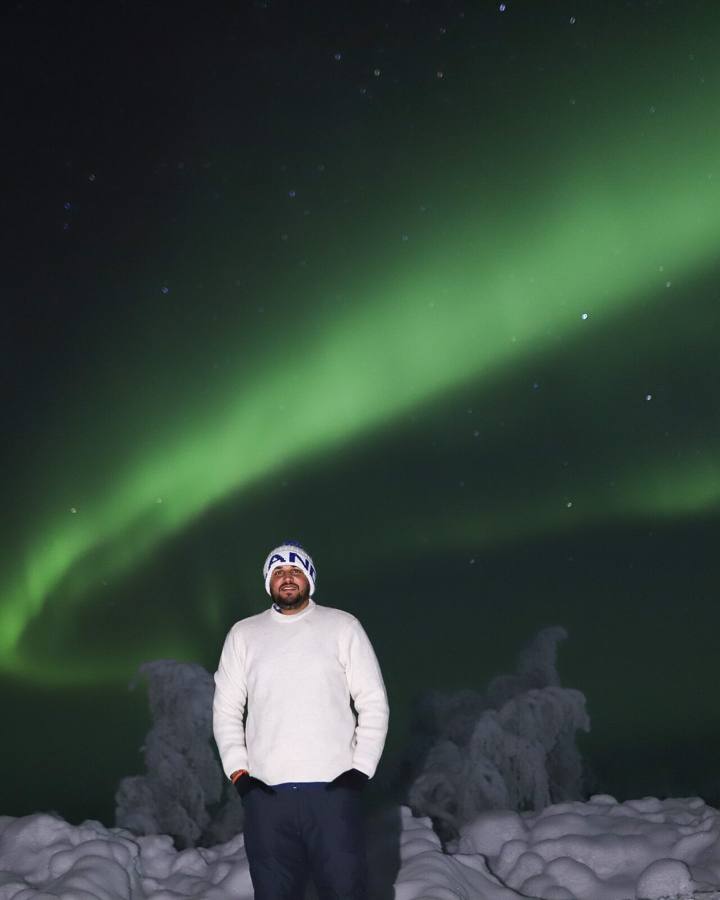
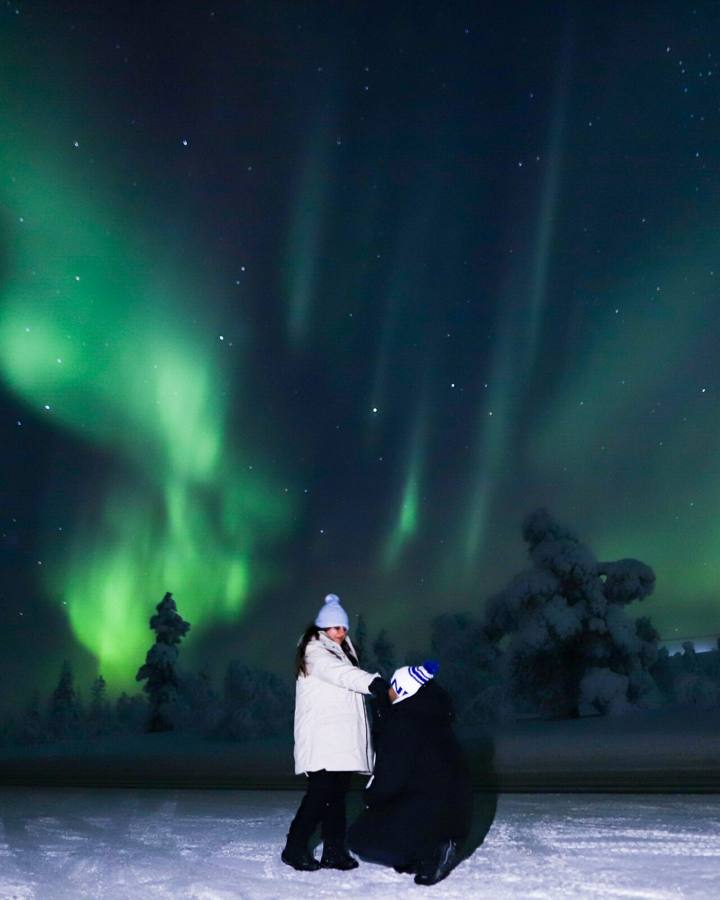
On the small-group tour our guide gives photography tips on location and sends you our photos from the tour afterwards.
On private tours we photograph your group with professional cameras — aurora portraits that are hard to take yourself.
How many aurora photos are possible always depends on the conditions on the night.
Camera settings
A starting point for aurora photos
- Focus
- Manual, at infinity — check on a bright star using the zoomed-in screen
- Aperture
- As wide as your lens allows, e.g. f/1.8–f/2.8
- ISO
- Start around 1600–3200; lower for bright auroras
- Shutter
- About 2–4 s for fast, bright displays; 8–15 s for faint, slow arcs
- White balance
- Around 3500–4000 K for natural colours
- Format
- RAW if your camera supports it — more room to edit
Field tips
From our guides
Smartphones
Use night mode or a manual “pro” mode, rest the phone on something solid or a small tripod, and turn off the flash. Our guide helps with the settings on location.
Foreground
A snowy tree, a person or a reflection gives scale and atmosphere — and makes the photo tell the story of your night.
Use a timer
A 2-second self-timer avoids shaking the camera when you press the button.
Batteries
Cold drains batteries fast. Keep spares and your phone in an inside pocket close to your body.
Condensation
Put your camera in a closed bag before getting back into the warm car, so moisture forms on the bag rather than the lens.
Watch, too
The best moments sometimes last only seconds. Take time to look up with your own eyes.
Gallery
Aurora photography from our tours
FAQ
Photography questions
Are professional photographs included?
On private tours we take photos of your group with professional cameras. On the small-group tour our guide shares the photos taken during the tour with you afterwards. How many aurora photos are possible always depends on the conditions.
Can I use my smartphone?
Yes. Modern smartphones with a night mode can capture the aurora well. Our guide shows you the best settings on location. A small phone tripod helps, and keep a power bank in an inside pocket — batteries drain quickly in the cold.
Aurora photography guideHow do I receive my photographs?
We send the photos digitally after the tour, using the contact details you gave when booking. Make sure your email address or WhatsApp number is correct.
Book directly with Arctic Tours Oy
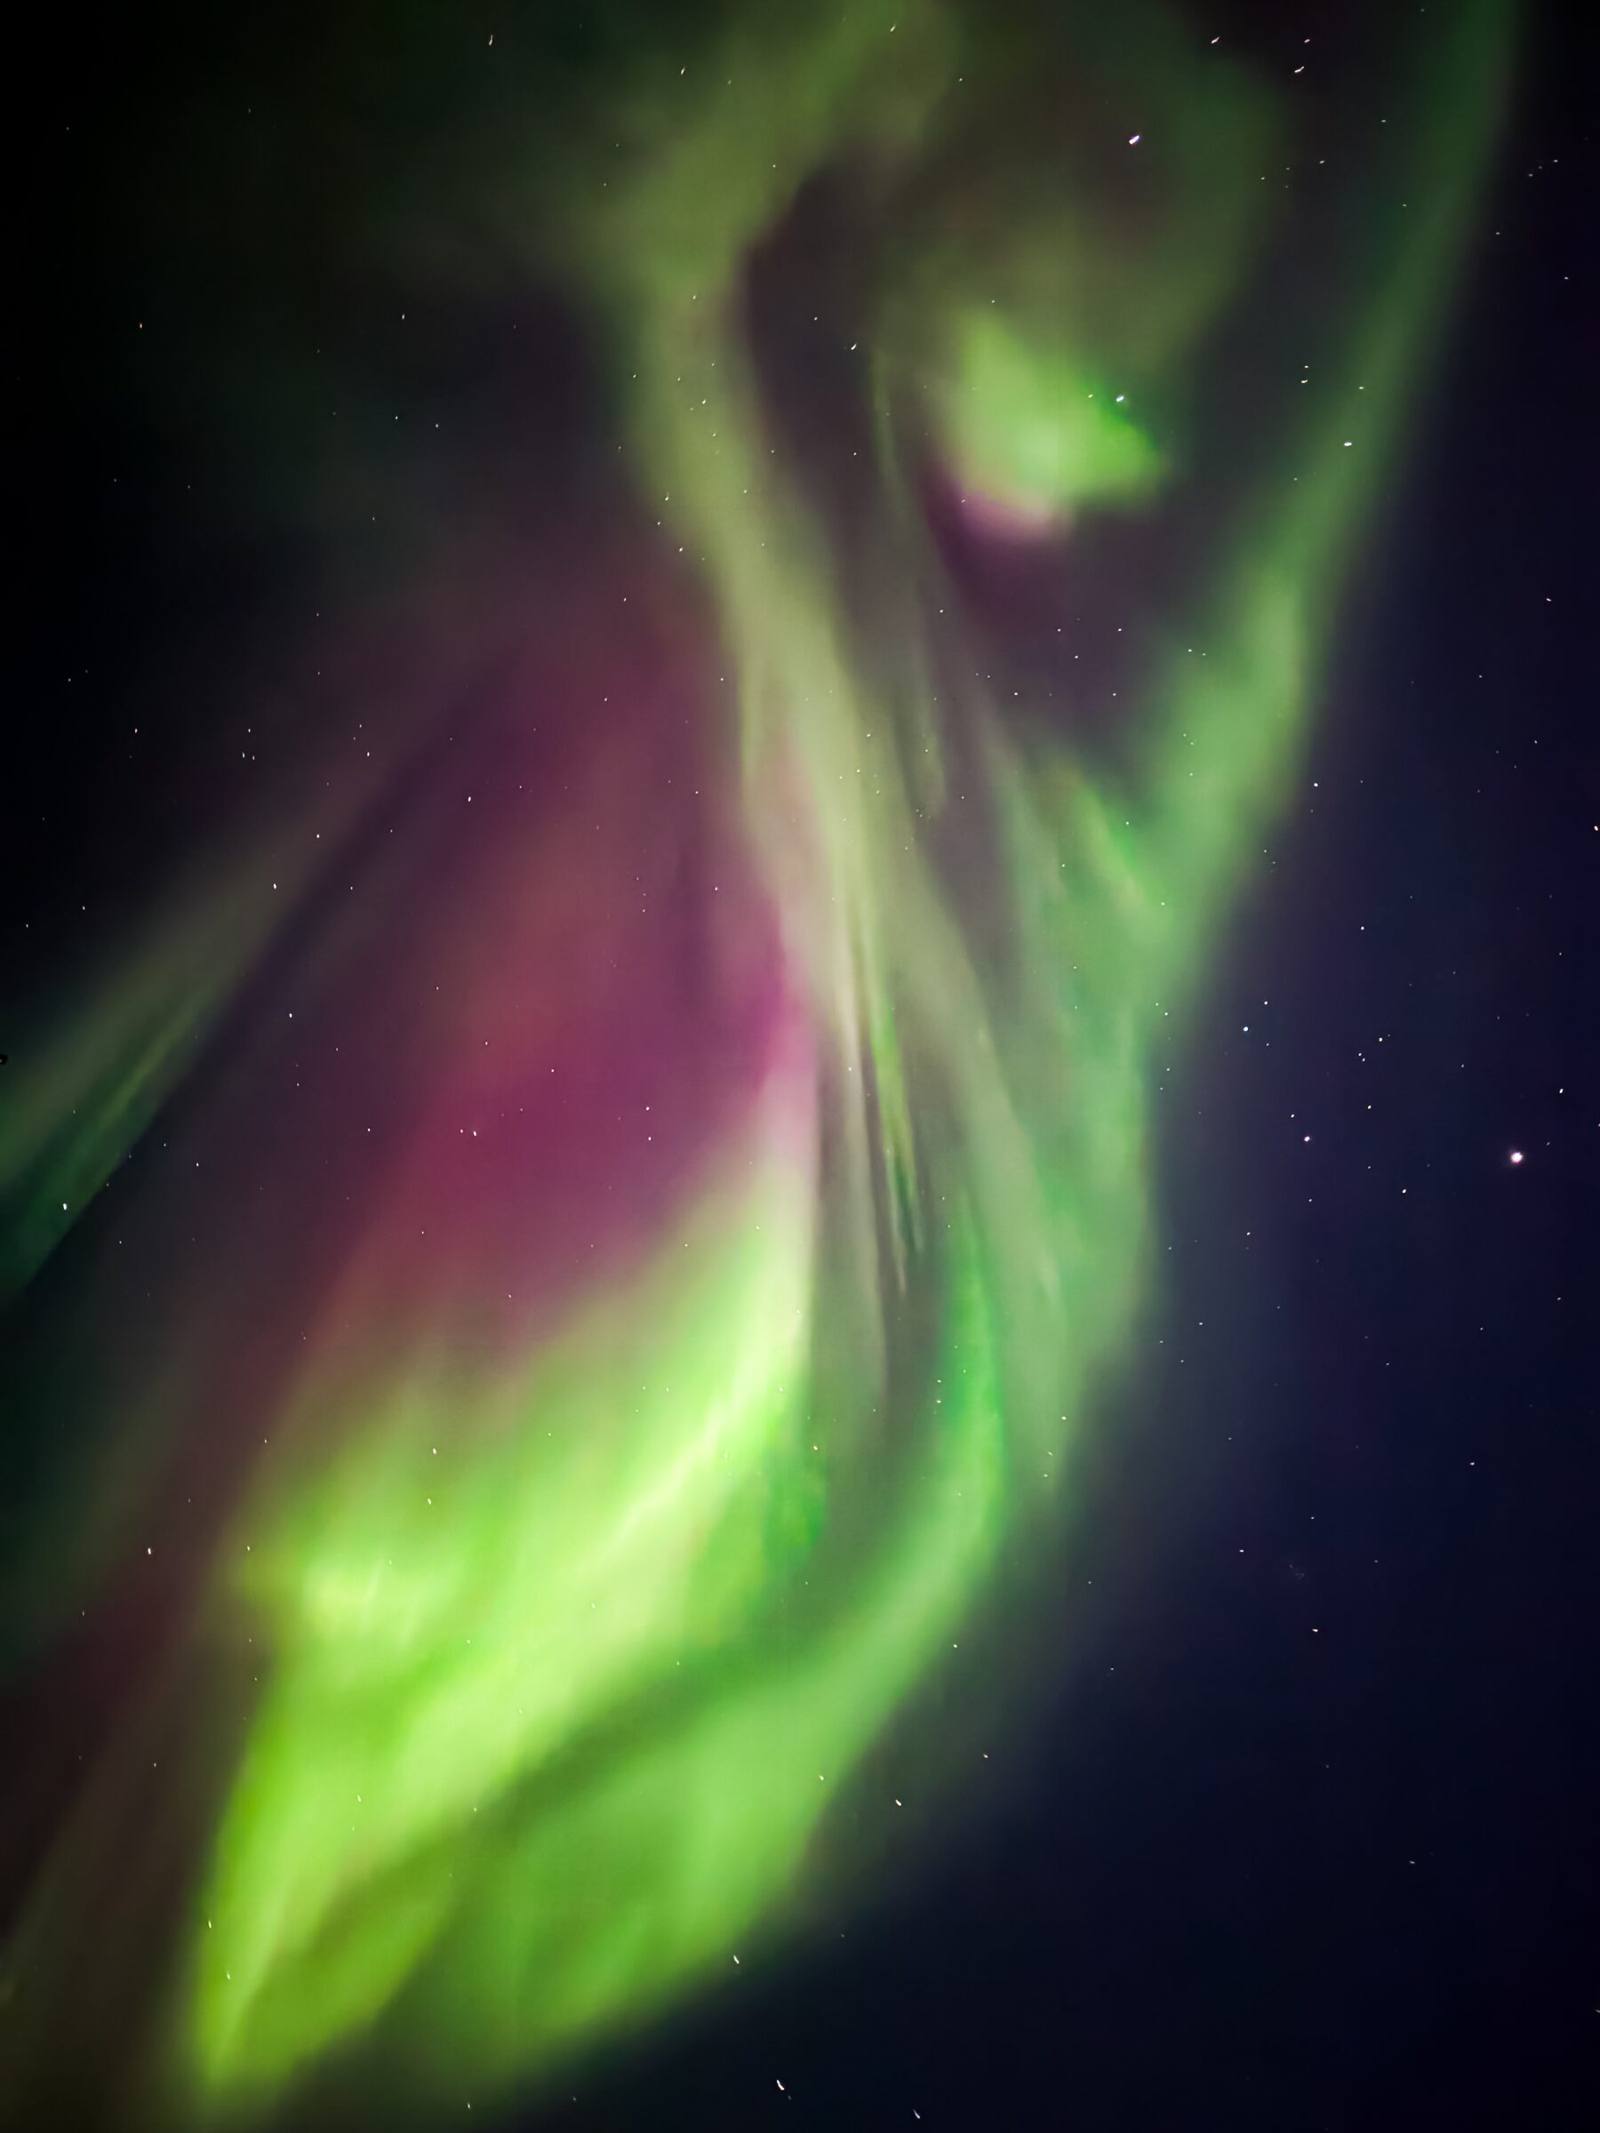
Ready for your night under the aurora?
Book online with instant confirmation, send a booking request with flexible dates, or message us on WhatsApp.